Your HP printer is like a bridge connecting your creative ideas to the tangible world of printed pages, but what happens when that bridge encounters obstacles? Optimizing proxy settings can markedly enhance your printing experience, especially in environments with limited internet access. By understanding and adjusting these settings, you can improve connectivity to essential services and avoid frustrating interruptions. There are several strategies to explore that might just transform your printer into a more reliable partner in your daily tasks. What might those strategies be?
Proxy Settings for HP Printers
Proxy settings on HP printers play a critical role in enabling internet connectivity when you’re using a proxy server.
You’ll need to input the correct proxy address and port number to guarantee your printer can access web services effectively.
Understanding these elements is essential for optimizing your printer’s network performance.
What are Proxy Settings on HP Printers?
Several settings on HP printers facilitate their connection to the internet, and one important configuration involves the use of a network proxy server.
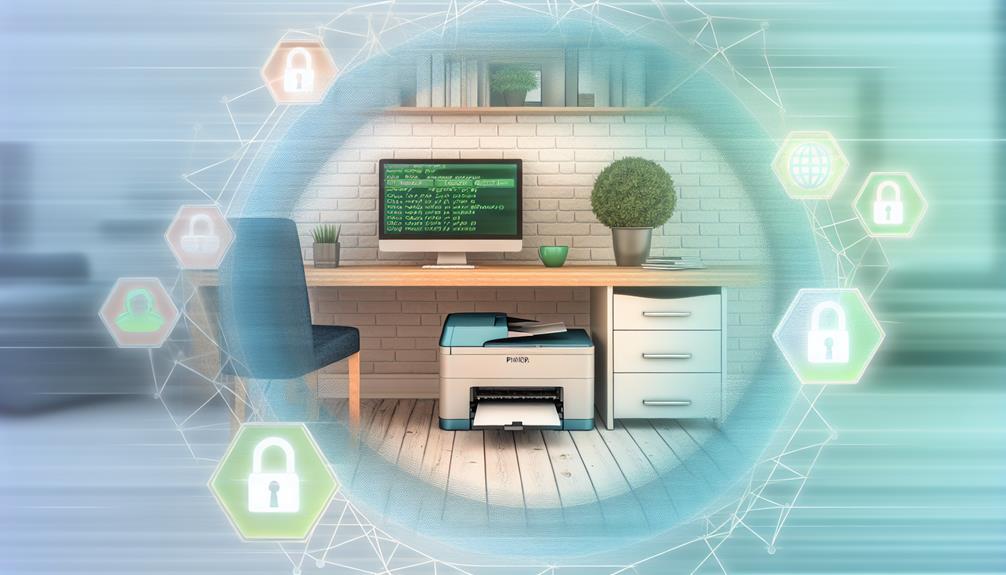
Proxy settings are essential for HP printers operating in environments where direct internet access is restricted or monitored. By enabling a proxy server connection, you can route your printer’s internet traffic through a designated server, aligning with your network’s security protocols.
To configure the proxy settings, you’ll need to access the printer’s Embedded Web Server (EWS). Here, input the necessary proxy server address and port number. This step is crucial for guaranteeing successful connectivity to web services like HP Instant Ink, which can be greatly impacted if proxy settings aren’t correctly configured.
You can obtain the required address and port values from your device’s network settings on either Windows or Mac OS.
It’s important to verify these proxy settings are accurate, as improper configurations can lead to common connectivity issues and hinder your HP printer’s overall performance.
What is a Proxy Address for HP Printers?
A proxy address for HP printers serves as a critical identifier, typically an IP address or Fully Qualified Domain Name (FQDN), that enables the printer to route its internet traffic through a designated proxy server.
This setup is essential for HP printers operating in networks requiring proxy configurations, ensuring that you can access web services and print functionalities effectively.
To configure the proxy settings, you’ll need to access the printer’s Embedded Web Server (EWS), where you can input the required proxy address and port numbers.
It’s important to enter the correct proxy address alongside the appropriate port—commonly port 80 for HTTP connections.
Ensure your proxy settings align with your network’s configuration; otherwise, incorrect entries can lead to connectivity issues.
Such problems might prevent you from utilizing services like HP Instant Ink, hindering your overall printing experience.
What is Proxy Port on HP Printers?
When configuring your HP printer’s network settings, understanding the role of the proxy port is essential. The proxy port acts as a designated channel for communication between your printer and the proxy server, typically utilizing port 80 for HTTP traffic. Proper configuration of this port enables your printer to access the internet, activating features like web services and remote printing.
To avoid connectivity issues, you must verify that the correct proxy server address and port values are entered in your printer’s Embedded Web Server (EWS). In environments using proxy servers, your printer may require specific settings to establish a successful connection.
If the proxy port isn’t configured correctly, you might encounter errors such as “Your network requires a proxy server address,” which will hinder your printer’s ability to access online services.
Thus, always double-check your settings to verify they align with your network requirements. By understanding and correctly configuring the proxy port on your HP printer, you can enhance its performance and maintain seamless connectivity to online resources.
Configuring Your HP Printer’s Proxy Settings
To configure your HP printer’s proxy settings, you’ll need to access the Embedded Web Server (EWS) via the printer’s IP address.
Enter the correct proxy address and port, which you can find in your network settings, to guarantee proper connectivity.
If your network requires authentication, it’s crucial to manage web proxy credentials within the EWS settings.
How to Enter Proxy Address HP Printer
Configuring your HP printer’s proxy settings involves a few straightforward steps that confirm it can connect to your network properly. First, access the printer’s Embedded Web Server (EWS) by entering its IP address in a web browser. This interface allows you to manage various settings, including the proxy configuration.
Once in the EWS, navigate to the Web Services settings. Here, you’ll need to enter the required proxy server address and port number. You can obtain these details from your computer’s Internet Options (for Windows) or System Preferences (for Mac).
Make certain your printer’s firmware is up-to-date; outdated firmware can hinder your ability to configure proxy settings correctly.
After entering the proxy information, attempt to enable Web Services. This step is essential as it verifies that your printer can connect successfully using the provided proxy details. If the connection fails, double-check your entries for accuracy.
HP Printer Proxy Address: Step-by-Step Guide
After successfully entering the proxy address on your HP printer, the next step is to confirm that the settings are correctly configured for ideal connectivity.
Follow these steps to ascertain your proxy settings are accurately set up:
- Access the printer’s Embedded Web Server (EWS) by typing its IP address into a web browser.
- Navigate to the “Network” tab and find the “Proxy Settings” section to input the necessary proxy address and port number.
- Confirm that the proxy server address and port values match those in your computer’s Internet settings for successful connectivity.
Once you’ve entered the required information, save your changes and restart the printer to apply the new settings effectively.
This guarantees that your HP printer can communicate efficiently within your network.
Don’t forget to regularly check for updates for both printer firmware and driver software, as outdated versions can hinder proper proxy configuration.
Web Proxy Authentication for HP Printers
Ensuring seamless web proxy authentication for your HP printer is crucial for maintaining reliable access to online resources and services.
To configure your printer’s proxy settings, begin by accessing the Embedded Web Server (EWS). Navigate to the Proxy Settings tab and enter the Address and Port values provided by your network configuration. Typically, the default port for proxy connections is 80. If no address is listed, this may indicate that proxy settings aren’t configured, leading to potential connectivity issues.
It’s important to verify that the correct proxy settings are applied, so check both Windows and Mac OS network configurations for any discrepancies.
Regularly updating your printer’s firmware is also essential; outdated firmware can disrupt proxy settings and hinder overall network functionality.
If you experience difficulties after adjusting the settings, consider bypassing certain IP addresses using a proxy exception list. This can enhance your printer’s access to web services, ensuring you maintain efficient operation.
Common Issues with HP Proxy Settings
When dealing with HP proxy settings, you might encounter various issues that can hinder your printer’s performance.
Misconfigured proxy addresses and outdated firmware often lead to connectivity problems, emphasizing the need for accurate settings.
Understanding these common challenges can help you troubleshoot effectively and guarantee seamless printer operation.
Troubleshooting HP Proxy Issues
HP printer users often encounter proxy-related connectivity issues that can disrupt functionality and access to services such as HP Instant Ink. When your network requires a proxy server, your printer may prompt you for the proxy address and port information.
Incorrectly configured proxy settings can lead to error messages indicating the printer can’t connect to web services or the HP Instant Ink service.
To troubleshoot these issues, first, check the proxy settings on your printer by accessing the Embedded Web Server (EWS). Verify you input the correct address and port values.
Additionally, review your computer’s Internet Options on Windows or System Preferences on Mac to confirm that the proxy settings align with those required by your network.
Another critical step is to keep your printer’s firmware up to date, as outdated firmware can exacerbate proxy-related connectivity issues. Regular updates can prevent many common problems.
Benefits of Correct HP Proxy Address Configuration
If your HP printer isn’t connecting, the issue might stem from incorrect proxy settings.
Properly configuring the proxy address is essential for maintaining access to web services and avoiding error messages.
Why is My HP Printer Not Connecting with Proxy?
Connecting your HP printer to a proxy server can be tricky, especially when settings aren’t configured correctly.
A common proxy problem arises from incorrect proxy address and port settings, leading to connectivity issues with web services.
Always verify your DNS configurations and guarantee your printer’s firmware is up-to-date to prevent disruptions in access to services like HP Instant Ink.
Common Misconceptions about HP Proxy Settings
Understanding the common misconceptions surrounding proxy settings for HP printers is essential for ensuring seamless connectivity. Many users mistakenly believe that proxy settings are only relevant on certain networks, but these settings can greatly impact any connection that relies on web services for printer functionality.
Leaving proxy settings blank might seem sufficient, yet this can lead to connectivity issues, particularly in environments governed by network policies requiring a proxy server.
Another common misconception is that proxy errors only surface after major network changes. In reality, they can occur unexpectedly due to automatic updates or subtle shifts in network configurations.
Additionally, some users assume that enabling proxy settings will automatically resolve their connectivity problems. However, without accurately inputting the correct proxy address and port, proper functionality remains unattainable.
Advanced Tips for Optimizing HP Printer Proxy Settings
To optimize your HP printer’s proxy settings, start by accurately configuring the HP ePrint proxy address in the Embedded Web Server (EWS).
Implement best practices, such as regularly updating firmware and maintaining an exception list for critical IP addresses, to enhance connectivity.
Consider specific application scenarios that may require tailored proxy settings to guarantee your printer operates efficiently within your network.
HP Eprint Proxy Address Configuration
Configuring the HP ePrint proxy address is vital for ensuring seamless printing functionality over a network. Start by accessing your printer’s Embedded Web Server (EWS) and navigate to the Web Services settings. Here, you’ll need to accurately input the proxy server address and port number as per your network’s Internet settings. This step is essential; incorrect entries can lead to connectivity issues that disrupt your ePrint services.
To further enhance connectivity, consider utilizing reliable DNS settings, such as Google’s DNS addresses (8.8.8.8 and 8.8.4.4). These can greatly reduce proxy-related problems when using HP ePrint. If you encounter persistent issues, adding specific IP addresses to the proxy exception list may help, allowing for direct communication without proxy interference.
Additionally, regularly checking for firmware updates is important. These updates can enhance compatibility with your proxy configurations and improve overall printer performance.
Best Practices for Maintaining HP Proxy Settings
Maintaining ideal proxy settings for your HP printer is essential for guaranteeing uninterrupted connectivity and performance. By following a few best practices, you can optimize your printer’s proxy settings and enhance its overall functionality.
- Regularly check and update the printer’s proxy settings in the Embedded Web Server (EWS) to align with your network configurations.
- Confirm the proxy address and port number in the printer settings match those in your computer’s network settings for proper internet access.
- Use reliable DNS settings (like 8.8.8.8 for preferred and 8.8.4.4 for alternate) to improve the printer’s ability to resolve network addresses without unnecessary proxy requests.
Additionally, consider configuring a manual IP address to bypass proxy settings altogether, which simplifies printer connectivity and reduces the risk of disruptions.
Document any changes made to the proxy settings; this practice aids in troubleshooting future connectivity issues and allows for easy restoration of previous configurations if needed.
Application Scenarios for HP Proxy Settings
Often, users overlook the importance of tailored proxy settings for their HP printers in specific application scenarios. Optimizing these settings can greatly improve connectivity and network efficiency, particularly in diverse environments.
Here are three scenarios where proper configuration matters:
- Accessing Online Services: If your printer frequently connects to HP Instant Ink or other web services, make sure your proxy settings allow these connections without interruption.
- Firmware Updates: Regularly updating your printer’s firmware is essential. Proper proxy settings can prevent compatibility issues and guarantee your printer remains functional across various network configurations.
- Strict Network Policies: In environments with stringent network controls, consider implementing manual IP address configurations. This can minimize the reliance on proxy settings and streamline connectivity.